Skip to main content
Davinci
Breast Reconstruction DC
Request a Consultation
Breast Reconstruction DC
Home
About Our Doctors
Ximena Pinell, M.D.
Steven P. Davison, M.D.
Stages of Breast Reconstruction
Procedures
Implants
Implant-Based Breast Reconstruction
Tissue Expanders
Direct-to-Implant
Implant Position
Implant Safety
DIEP Flap
SIEA Flap
TUG Flap
Latissimus Dorsi Flap
Secondary Breast Reconstruction
Balancing Operations
Partial Breast Reconstruction
Aesthetic Flat Closure
Photo Gallery
What To Expect During Your Consultation
Blog
Patient Testimonials
Contact Us
(202) 966-9590
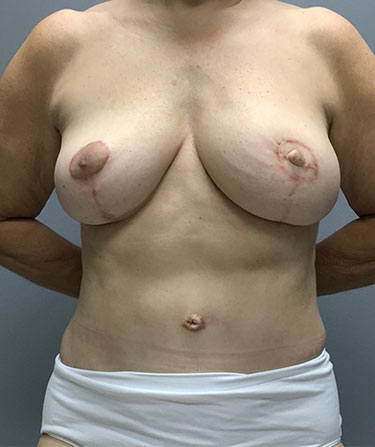
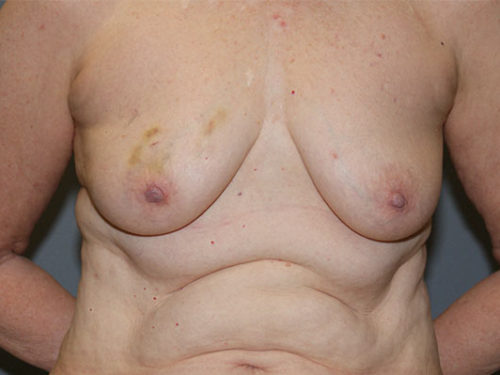
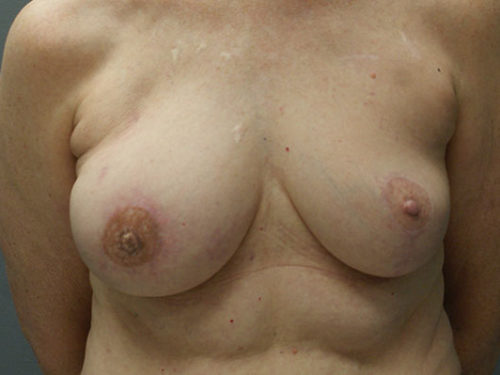
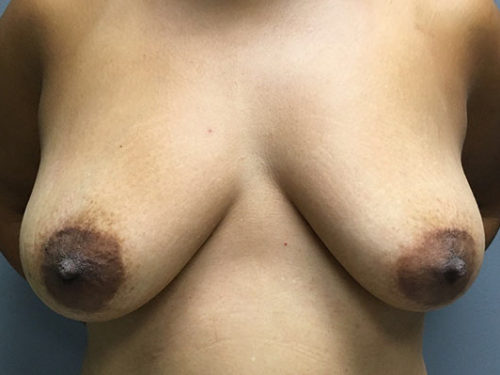
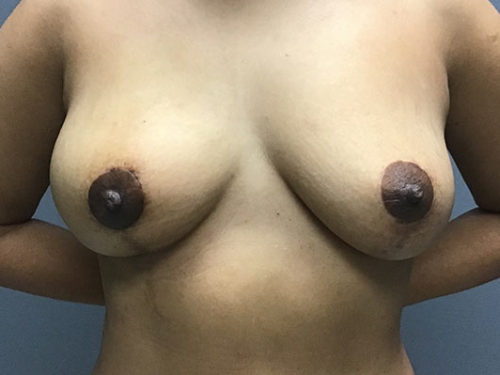
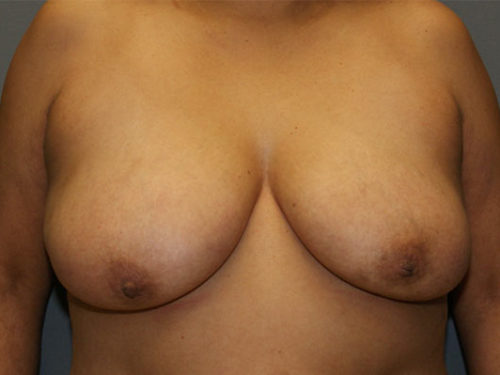
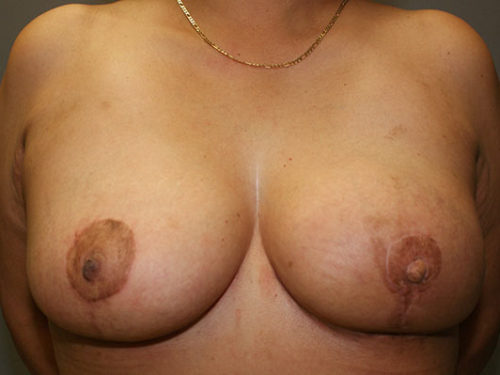
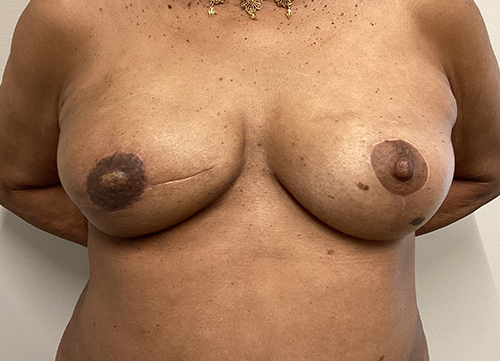
Balancing Operations Gallery
Back To Galleries